ALKUSANAT / FOREWORD

Kyseessä on siis ensimmäinen projektini, jota olen suunnitellut ja kehitellyt pari kulunutta vuotta tarkoin.
Alkuun "projektin" piti sisältää vain muutamia parannuksia tulevaan 240:een, mutta se on siitä sitten
lähtenyt käsistä ja paisunut mittoihin, missä mikään auton osa ei jää ilman huomiota.

Parannukset olisivat olleet ainoastaan:

- Hydraulinen käsijarru (vaijerit ärsytti)
- Moottorinohjaus (virranjakaja ja ilmamäärämittari ärsyttivät)
- Takavalojen johdotukset (taipuisa "piirilevy" ärsytti)


Lopullisen projektin parannukset:

- Listasta tulisi niin pitkä, että antaa kuvien kertoa ajallaan mitä tuleman pitää.


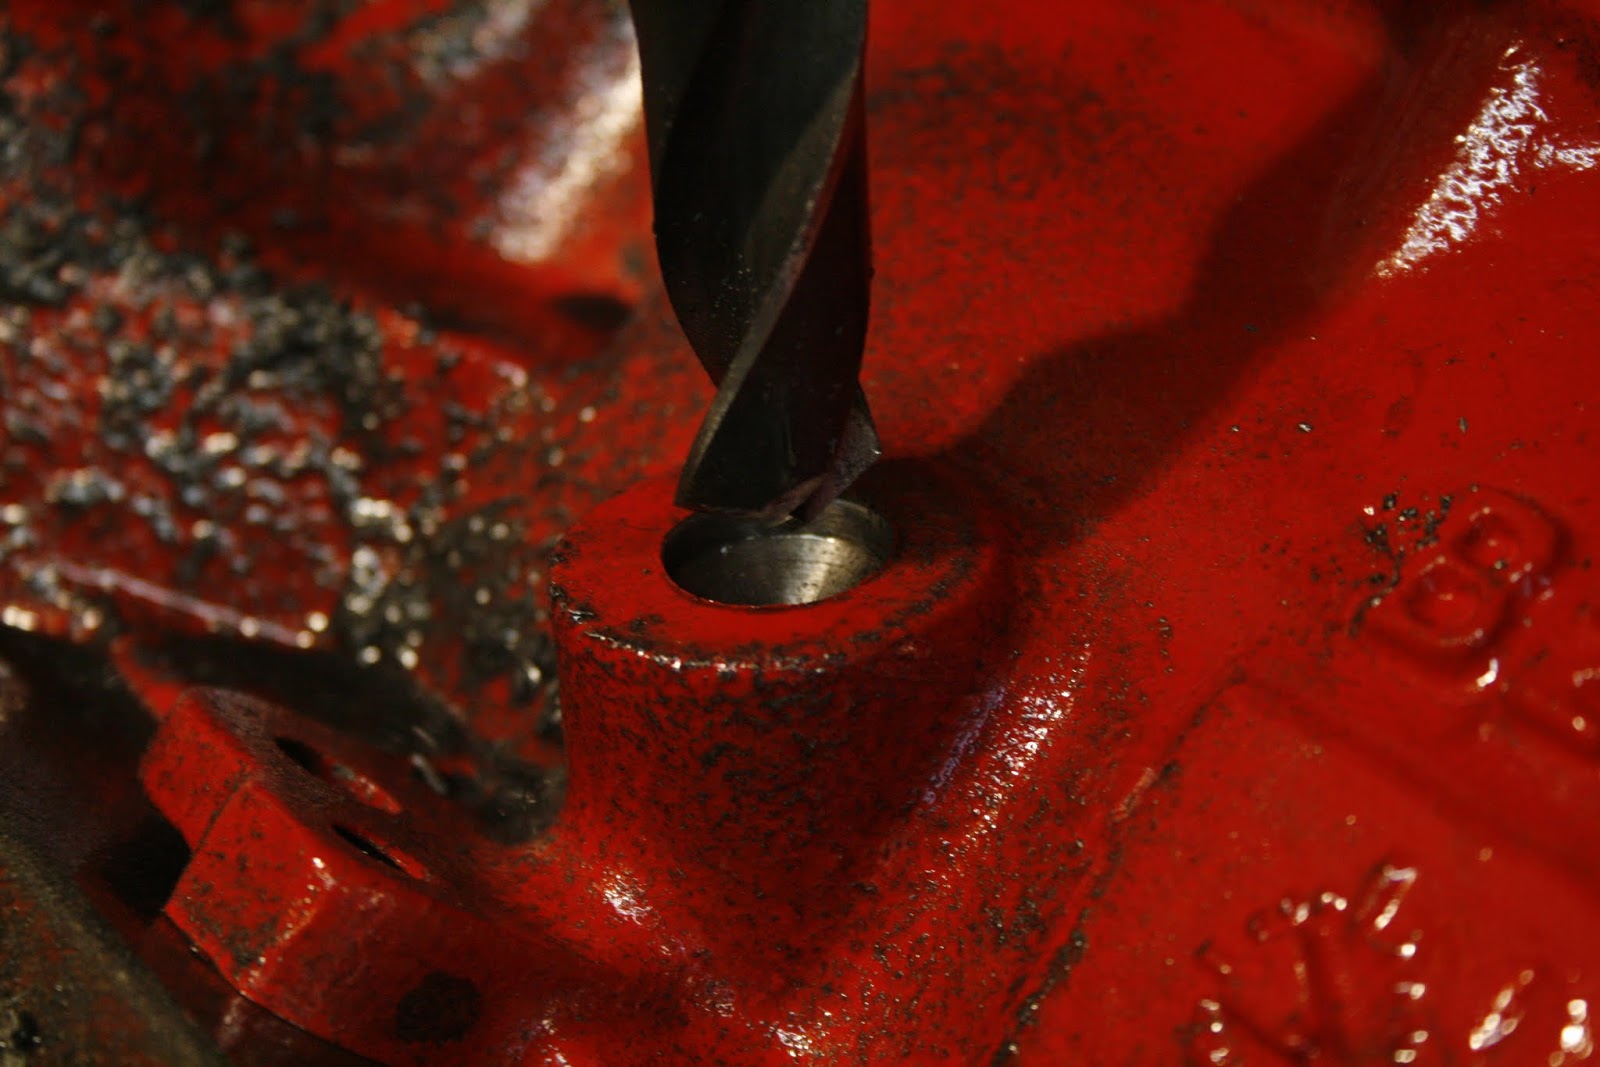
Kesän 2012 aiheena on moottori, mistä projekti nyt sitten alkaakin.


So this is my very first project, which I've been planning and refining for a few passing years now.
At first the "project" was only supposed to consist of couple of enhancements for my upcoming 240, but it has since then gotten a little out of hand and grown to proportions where no part will be left untouched.

The enhancements would have been:


- a hydraulic e-brake (the cables were annoying)

- EMS (the distributor and AMM were annoying)
- new backlight wiring (the bendy "circuit board" was annoying)

The final project's enhancements:


-The list would be quite long, let's just let the pictures tell what the future holds.


The theme for summer 2012 is the engine where the project now starts.


G.B.W.

Osista kiitokset:

StenParnerMotor   Takomännät, H-kanget, kansipultit, kampiratas,
                             kampilaakerit, kankilaakerit

Isä ja Äiti                              Volvo 240 SE -91, etulyhdyt, T6 kansi
Ukko                                    Kuskinovi
745insports                           Venttiilikansi, Kampipyörä, vesipumpun pyörä
Eerikki                                  850:n 3" läppärunko
JuhaU                                  16V -nokkapyörä
JussiB                                  16V-kansi, nokat, nokkapyörät, imusarja
Juzi                                      740 Turbon mittaristo
-nikke-                                  B230 -öljypohja, öljypumppu, laturinpyörä
oooozz|                                 21mm etukallistuksenvakaaja
Tommi M                              B20 -öljypohja
Veksi                                   Lohko, kampiakseli, apuakseli

PROJEKTIN ETENEMINEN / PROGRESS OF THE PROJECT

Ei sanoja, vain kuvia.
No words, just images.


LOHKON SIISTIMINEN / CLEANING THE BLOCK


Lohko päätyi samantien pesukoneeseen ja siitä paineilmakuivauksen jälkeen lasikuulapuhallukseen.
Puhalluksen jälkeen annoin lohkolle korroosiosuojan siirron ajaksi, mistä johtuu kuvan pieni kiilto.
The block ended up in a washing machine right away and from there to sandblasting after drying with compressed air. After blasting I gave the block a protective coating for corrotion for the transportation which is why the block is shining in the below picture.


Siirron jälkeen pesin korroosiosuojan pois, kävin lohkonläpi alkoholilla ja annoin ensimmäisen kerrokson Miranolia.
After transportation a washed the protective coating off, cleaned it with alcohol and gave it the first coating of paint.


Maalikerroksen läpi lohko kuultaa vielä, mutta pari lisäkerrosta maalia tekee temppunsa kyllä.
Käyttämäni maali oli Miranol.
The block can still bee seen through the coating, but a few more coatings will do the trick.
The paint I used was Miranol.


VANHA LOHKO
THE OLD BLOCK

Koska vanha lohko tulee tulevaisuudessa käyttöön ja oli mahdollisuus käyttää hyvää pesupaikkaa, joten aloin puhdistukset.
Because the old block will be used at some point in the future and I had access to proper washing equipment I started cleaning it.


Volvo on alkanut käyttää uutta muottia lohkoilleen ainakin jo 1991, sillä tästä lohkosta löytyy jo uusimpien mäntien ruiskuilla varustettujen lohkojen tunnusomaiset nystyrät pääöljykanavan yläpuolelta. Ruiskuja ei kuitenkaan tässä lohkossa ollut.
Volvo started to use their new mold for the new block in 1991 at least because this block has those small lumps above the main oil line were the oil squiters would have been installed. Sadly this block had no squiters.


LOHKO / THE BLOCK

Tulevaksi lohkoksi olin valinnut B230 vuosimallia -89 tai uudempi.
Syy vuosimallille on runkolaakerin parempi sijoitus ja suurempi fyysinen koko.

VRCF:n foorumien kautta bongasin Jyväskylän tienoolta B230 K-lohkon vuosimallia -89.
Parin puhelinsoiton jälkeen hakureissu oli suunniteltu, mitä aloinkin hyvän ystäväni kanssa 
suorittamaan.

Lohko oli hyvin varastoitu lämpimään tilaan säältä suojaan, sylinterit olivat hyvässä kunnossa samoin laakerit ja kampiakseli.

Lohkosta kiitos: Veksi


For a block I had chosen a B230 from -89 onwards.
The reason for this is better location and size of the thrust bearing.

From the VRCF -forums I spotted a B230 K-block -89 near Jyväskylä.
After a few phone calls the retrieval had been planned, which I started to fulfill with my dear friend.

The block was well stored in a heated room safe from the weather, the cylinders were in nice condition as well as the bearings and crankshaft.


ÖLJYRUISKUT / OIL SQUIRTERS

B230 lohkoihin tuli vasta -93 jälkeen vakiona mäntien öljyruiskut, mitkä jäähdyttävät mäntien alapintaa.
Aion tehdä TurboBricks -sivuston mukaisen operaation ja asentaa itse lohkoon öljyruiskut.

http://forums.turbobricks.com/showthread.php?s=63d9c810d86b7db9810935ae43d221d9&t=115422

Suuttimiksi tulee BMW:n osanumerolla 11111739907, joissa on M8x1mm kierre.
M8 pultille porattava reikä on 6,8mm.

Kuvat ovat huonolaatuisia sillä Desire HD ei pärjää hyvin vähäisessä valaistuksessa, mitä käytin projektin alussa.


Oil squirters were introduced to B230 in the year -93 which cool the under surface of the pistons.
I will do an operation described here:

http://forums.turbobricks.com/showthread.php?s=63d9c810d86b7db9810935ae43d221d9&t=115422

(yes, your forums are well known here (=  )

The squirters will be from BWM, partnumber 11111739907, which have a M8x1mm threading.
The hole needed for a M8 bolt is 6,8mm.

The pictures are a bit bad because they were taken with my Desire HD which I used in the beginning of this project.


Alkureikä on 6mm poralla joka on 300mm pitkä, mikä helpotti porausta 6,8mm kokoon jälkimmäisen poranterän lyhyyden vuoksi.
The starting hole is with a 6mm x 300mm drill bit which helped the drilling to 6,8mm, because my 6,8mm drill bit was so short.


Reikä suurennoksen jälkeen 6,8mm terällä.
The hole after enlarging it to 6,8mm.


Kuvissa #1 ja #2 sylinterien suutinreiät.
Cylinders #1 and #2 in the below picture.


Kuvassa näkyy suuttimien tarvitsemien tiivistepintojeen tekemiseen hyödyllinen työkalu.
Työkalun ohjuritappi onkin sopivasti 6,8mm. Myös parempi maalipintakin näkyy kuvasta.
The picture shows a handy tool for drilling the sealing surfaces for the oil squiters.
The quiding tip of the tool is 6,8mm which is just dandy. You can also see the better paint coating.


Ensimmäinen tiivistepinta valmis.
The first sealing surface is done.


Lopuksi kävin reiät läpi M8x1mm kierretapilla.
The last step is to go through the holes with a M8x1mm tap drill.


Paikallinen BMW:n varaosamyyjä ilmoitti, että tilaus Ruotsista on saapunut.
Kuten paketeistä näkyy myydään suuttimet kappaleittain ja mukaan tulee banjo -pultti, sekä itse suutin.
Banjo -pulteissa on sisällä jousi, mikä kuormittaa myös sisältä löytyvää kuulaa. Testasin tuon jousen avautumisen ja se aukeaa täysin 3barin kohdalla.
Our local BMW dealer contacted me and let me know my order from Sweden has arriwed.
As you can see from the packages the squiters are sold in units of 1 and they include a banjo bolt and the squirter itself.
The banjo bolt has a spring and ball inside it, which i tested to open completely in 3bars.


Tiivisteiksi sopii M10 ja M8 kuparitiivisteet. M10 tiiviste tulee pultinkannan ja suuttimen väliin ja M8 taasen lohkon ja suuttimen väliin. Pultti on edellä todetun M8 kokoinen, mutta sen kannassa olevan kanttauksen takia ei M8 kuparitiiviste mahdu kantaan asti. Tästä syystä toinen tiiviste on kokoa M10.
For sealing a M10 and a M8 copper washer is fine. The M10 washer goes between the bolt and the squirter and the M8 washer goes between the block and the squirter. The bolt is M8 as mentioned but due to the chamfer at the base of the bolt a M8 washer wont fit perfectly. For this reason a M10 washer is used.


Banjo -pulttien kierteisiin laitoin Loctite 542 -hyrdauliikkatiivistettä, mikä toimii samalla kierrelukitteena.
I used Loctite 542 on the banjo bolts which acts as a threadlock and sealant.


HUPIA: 8V KANNEN TUNING / SOME VALVE COVER TUNING FUN


Kun nyt tuo Miranol oli auki, niin tulipa sitä sitten tungettua huvikseen lasikuulapuhallettuun 8V kanteen. Tai ei ihan huvikseen, vaan koetyöstän sen ja jos lopputulos miellyttää, niin teen saman operaation sitten 16V kannelle.
Now that I had the can of Miranol open I decided to have some fun and try it on a 8V valve cover. Well not for fun, but for an experiment and if the end result pleases I will do the same on the 16V valve cover.


Tässä en käytä pohjamaalia kokeilun vuoksi. Aluksi yksi kerros koko kannen päälle, mukaanlukien kirjainten päälle, sitten pyyhkimällä liika niitten päältä pois. 
I will not use any primer to see what will happen. First just one coat of paint over the whole cover including the letters then wiping off the excess paint from the letters.


Sitten toinen kerros maalia ja 400:lla hiomapaperilla kirjainten päältä. Aion vielä käydä maalipinnan läpi 1200:lla vesihiomapaperilla ja katsoa mitä tulee. Myös kirjaimia pitää vielä hioa.
Then a second coat of paint and sanding with 400grid sandpaper over the letters. I will then go over the whole coating paint with 1200grid sandpaper and watch what happens. The letters need some sanding too.


No jälkihän on 1200:n jälkeen tämän näköinen, kuten vähän arvelinkin. Mutta tulipahan kokeiltua, niin ei sitten tule käytettyä ko. tekniikkaa 16V -kanteen. Kokeilemalla oppii.
Well the finish after the 1200grid sandpaper looks like this, like I expected. But well it was all for the sake of experimenting and I will do something else on the 16V valve cover.

Kannesta kiitos: 745insports

TURBON ÖLJYNKIERTO / TURBO OIL CIRCULATION


Porausten jäljiltä tuo öljykanava kun on täynnä metallipurua, niin avasin lohkon molemmista päistä tulpat. Tulppien kierre tuntuu olevan 1/4" NPT, koska 1/4"-AN4 liitin sopii hyvin siihen, mitä sovittelinkin näön vuoksi paikalleen. Tuo liitinpaikka sijaitsee vesipumpun alapuolella ja tulee toimimaan turbon öljynsyöttönä.
Now that after drilling the oil passage it is full of metal powder so I opened the plugs located at both ends of the block. The plugs seems to have 1/4" NPT threads, because a 1/4"-AN4 fitting fits in very well which I also tried for looks. The inlet I used is located just under the water pump and will be used for turbo oil feed.


Öljynpaluulle on turbomallin lohkoissa valmiiksi jo paikka pakosarjan puolella lohkon alareunassa perällä.
Omassa lohkossa ei sitä ollut valmiiksi, joten jouduin poraamaan sen. Öljynpaluun pitää olla riittävän suurella halkaisijalla, koska öljy palaa öljypohjaan turbosta painovoiman avulla. Liittimeksi olen valinnut M20x1,5mm kierteellä olevan AN12 -liittimen. M20:lle täytyy porata 18,5mm reikä, mihin sitten kierteet tehdään. CRC:n leikkuunestettä tuli käytettyä rutkasti!
Turbo blocks already have a hole for turbo oil return at the exhaust side of the block near the glutch.
The block I used didn't have one so I had to drill one. The oil return must be big enough to allow the oil to flow freely to the sump as it is only done by gravity. I have chosen a AN12-M20x1,5mm fitting. The hole needed for M20 is 18,5mm. CRC-cutting fluid used a lot.


Paikka öljyn paluulle on 45-asteen kulmassa lohkon pystyakseliin nähden, joten pylväsporakoneen kääntyvä pöytätaso oli erittäin kätevä tässä operaatiossa.
The place for the oil return is at 45-degree angle, so the rotating table of the drill was very helpful.


Öljyä ei säästelty!
No oil was spared!


Pian alkoi pora tykyttämään enteilevästi, eikä leikkuuneste enään pysynyt porauskohdassa, läpi oltiin tultu. Pieni silaus ja reiästä tuli erinomainen ja siisti!
Soon the drill started to vibrate in a promising way and the cutting oil no longer stayed in the hole, so we were through. Just one last touch and the final hole was excellent and neat.


Näissä kuvissa lohkossa onkin jo pari maalikerrosta ja eron huomaa. redblock is red again!
These pictures also show the final colour of the block. Well you understand the second sentence already (;


Hitaasti edeten ja terän kierrokset korkealla tuli lohkon sisäpintaan erittäin siisti jälki, ei purseita.
Moving slowly while keeping the RPM high the edges of the hole were nice and clean.


Seuraavaksi pitää vain työstää reikä loppuun M20x1,5mm kierretapilla. Pelkällä vääntimellä ei tuohon paikkaan oikein päässyt vääntämään, koska väännin ei mahtunut pyörimään ja olisi vetänyt kierretapin vinoon.
Next I just have to go through the hole with a M20x1,5mm tap drill. The tool used for turning the tap drill was too wide and hit the side of the block and didn't keep it straight.


Ratkaisu oli helppo: räikän jatkovarsi väliin ja tilaa tuli roimasti.
The solution was easy: an extension for a ratchet gave me plenty of room.


Jatkovarsi oli löysäsovite ja siksi on kuvassa vinossa antaen vaikutelman, että kierretappi on vinossa reikään nähden.
The extension was a loose fit so it gives the impression of the tap drill being at an angle.


Hyvä menetelmä kierteitä tehdessä on kääntää yksi täysikierros, peruuttaa puoli kierrosta, palata takaisin mihin jäätiin ja toistaa vaiheet. Tässäkin oli CRC -leikkuuneste passeli apuri. Kierteytys onnistui ja olin tyytyväinen lopputulokseen.
A good method for making threads is to turn one full cycle and then return half a cycle. Here the CRC-cutting fluid was really handy again. The threadind was succesful and I was pleased for the outcome.


Sitten kierteiden toimivuus tuli testattua ruuvaamalla AN12 liitin paikoilleen. Hyvin pyöri paikalleen ja näyttää aivan pirun hienolta!!
Then I tested the threads by fitting the AN12 fitting in place. It turns well and looks awesome!!


POHJA / UNDERBODY


Tässä osiossa esitetään, miten kävin pohjaa läpi pohjamassojen ja peltitöiden osalta. 
In this section I show how I managed to get the stone chip guard off and how I repaired some rusty parts.

POHJAMASSAN IRROITUS
STONE CHIP GUARD REMOVAL


Apukuskin puolelta. Massan alta paljastuikin pari pientä paikattavaa reikää.
From the passenger's side. From under the stone chip guard, two small holes were revealed.


POHJAN PELTITYÖT
UNDERBODY SHEET METAL WORK


Sekä kuskin, että apukuskin puolen jalkatilojen kohdalla olevat tukipalkit ovat hyvin ruosteessa, joten ne pitää irroittaa. 
Both the driver's and passenger's side support beams are heavily rusted so they must be removed.


Ruoste oli syönyt tiensä lattien läpi, joten palkit lattioineen leikattiin irti.
The rust had eaten it's way through the floor so the the beams were cut away with the rusted floor panels.


Rutiinihomma: mallaus, sapluuna, siirto peltiin, leikkaus, hitsaus.
Routine job: dry fit, template, transfer to sheet metal, cut, weld.


Samaa puuhaa apukuskin puolella.
The same operation on the passenger's side.


Pukki oli tiellä, joten en saanut siistittyä leikkausta aivan loppuun asti.
The jack was on the way, so I couldn't finnish the cut cleanly yet.


Pukkia siirretty ja homma pääsee etenemään.
The jack has been moved so things can advance.


Paikat nyt siistittynä.
Things are now tidied up.


Maali poistettu hitsausta varten.
Paint has been removed for welding.


Paikan tekoa.
Making the patch.


Lopullinen paikkaus.
The final patch.


Ja paikalleen hitsattuna.
And now welded in place.


Rälläkkä on hieman osunut sinne tänne väkisinkin, joten pitää hieman siistiä.
The angle grinder hitting different places is almost unavoidable, so must do some finishing touches.


Näyttää hieman karulta, mutta toimii.
Looks a bit harsh, but it works.


Pohjan pistehitsit tasoiteltuna.
Spot welds grinded down.


Lattian kahteen isompaan paikaan pitää vielä lisätä helmaan "kanttaus" tuomaan jäykkyyttä ja pitämään katsastusmies tyytyväisenä. Pohjapalkit korvataan kahdella 4mm paksulla tukiripalla, jottei turhaa koteloa lialle enää olisi.
A "bend" must be added to the two bigger patches, to bring more stiffness and to keep the Inspector happy.
The support beams will be replaced by two 4mm thick ribs to avoid an unnecessary shell for dirt to collect into.


Kuskin puoleiset rivat valmiina.
The driver's side ribs are ready.


Sama apukuskin puolella.
Same on the passenger's side.


Pohjaan tehtävät metallityöt ovat nyt valmiit. Pohjan maalaus jatkuu osiossa MAALAUS. Tähän osioon lisään vielä kiveniskuhommat.
All the fabrications are now done. Painting portion of the underbody will be shown in PAINTING -section. I will still add all the stone chip guard stuff here.


Vararengaskuilujen kohdalle laitoin kiveniskukalvoa esteettisistä syistä.
I laid down stone chip film over the spare wheel wells for aesthetics.


Takarengaskuiluihin levitin kaksi kerrosta Troton kiveniskumassaa kalvojen sijasta.
I laid to coats of Troton stone chip guard inside the rear wheel wells instead of the film.